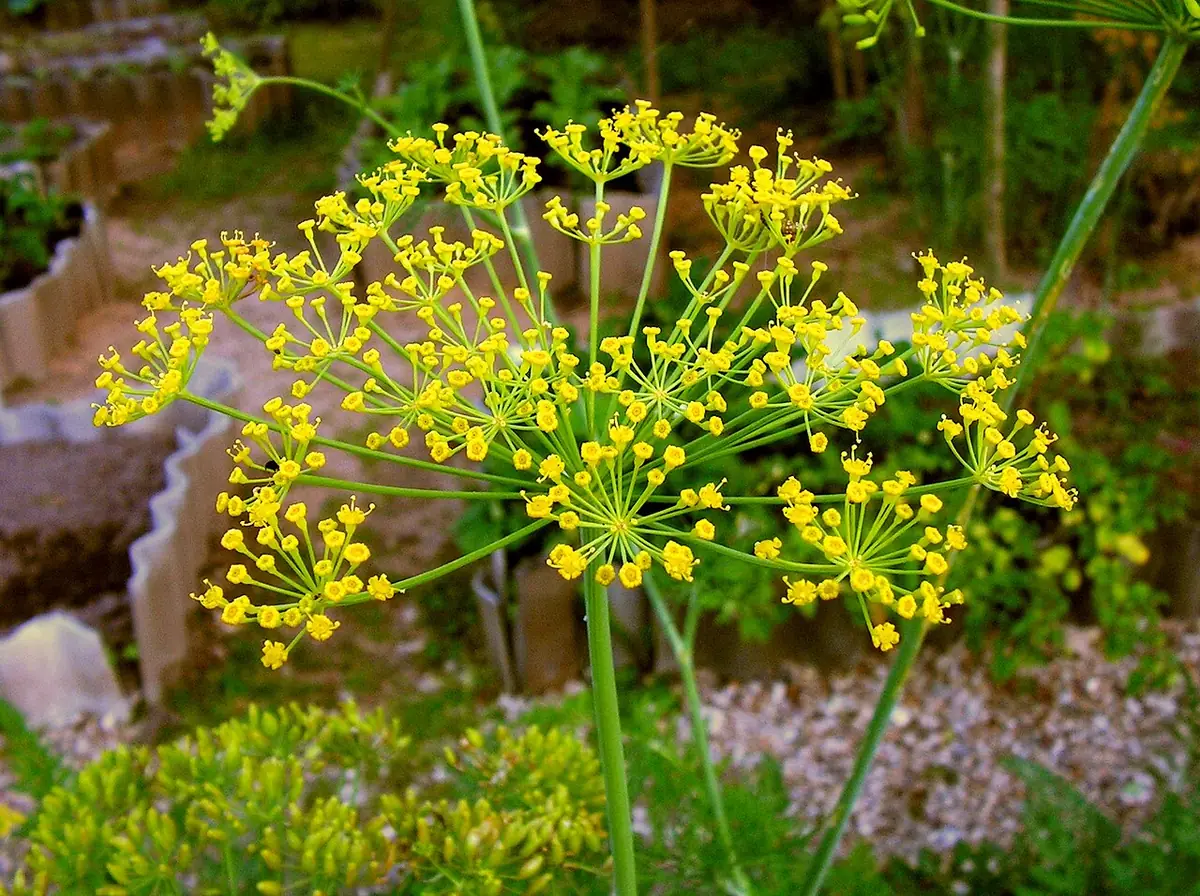
Dill has a taproot and dislikes unnecessary disturbance. Sow directly in the final container when practical, thin while young and keep the depth adequate. If the plant reaches flowering, leave enough foliage to support it and choose deliberately between a leaf focused crop and a seed harvest.
Prepare the container
Choose a sunny open position in a season that does not immediately force flowering. Observe the actual light at the growing position rather than relying on how bright the room or patio looks from a distance. Buildings, trees and window glass can change the exposure substantially. If Dill has been raised in a sheltered nursery, introduce stronger outdoor light gradually. Avoid combining a move, a major trim and a repot on the same day unless the plant condition makes it necessary.
Use a deep draining pot so the taproot has space. Drainage holes should remain open after the container is placed in a tray or outer cover. Fill with a growing medium intended for containers instead of compacting heavy garden soil around the roots. Set Dill at the appropriate original growing level and water it in gently. Leave enough room below the rim for water to soak into the mix without washing soil over the side.
Manage water and growth
Water when the upper mix begins to dry without letting the deep root zone become parched. Check the mix below the surface and, where practical, compare the weight of the pot before and after watering. Give the root ball a thorough drink, allow surplus water to escape and remove any water left beneath it. The needs of Dill change with temperature, wind and leaf size. A regular reminder should prompt a moisture check rather than an automatic measured dose.
For harvesting, snip a few feathery side leaves while preserving the main growing structure. Use clean scissors or a clean sharp tool and place the leaves into a clean container. With Dill, several light harvests are often easier to recover from than one severe stripping. Keep enough healthy foliage to support the roots and any new growth. Harvest only confidently identified food plants grown in a suitable setting, rinse them before use and discard any leaves that are decayed or contaminated.
One useful warning to recognize is that a tall flower stalk is normal as an annual dill plant matures. Inspect the roots, moisture and recent weather before assuming the plant needs feeding. If Dill is struggling, make one appropriate adjustment and watch the next growth rather than repeatedly changing everything. Older damaged leaves do not always recover their appearance. A steady supply of healthy new growth is a better measure of whether the care now suits the plant.
Keep the setup workable
For continued maintenance, sow directly where possible and avoid repeatedly disturbing a long young root. Remove dead material that accumulates on the mix and keep the pot accessible for inspection. Feed Dill only as appropriate for its growth and the product label, accounting for fertilizer already present in the mix. Excess feeding can produce an awkward amount of soft growth without improving the usefulness of the harvest. A clean, airy planting is easier to observe and maintain.
Remember that a container crop can provide leaves or mature seed, but a plant allowed to set seed usually gives less tender foliage. This distinction matters when buying replacements or comparing advice from another gardener. Keep your Dill container separate from unknown ornamental plants if leaves may be picked by different family members. Do not infer edibility from a common name, and do not make medicinal use part of the growing plan. The purpose here is a well managed home gardening project with clear plant identification and sensible kitchen hygiene.