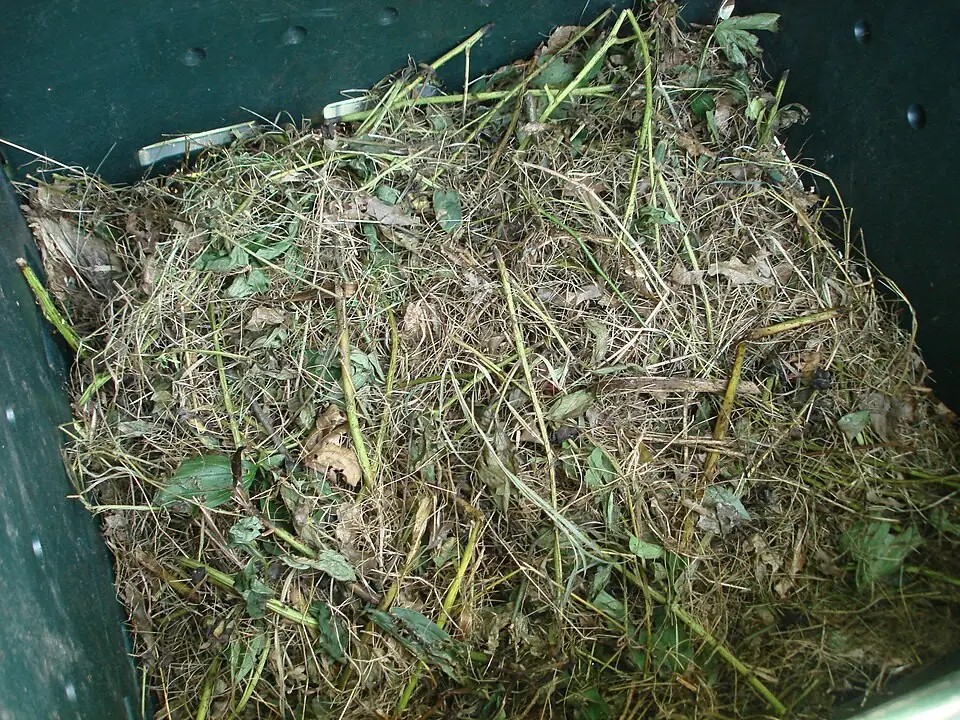
Aeration is easier when the material has a mixture of sizes. Long unbroken stems can leave large voids while dense grass mats exclude air altogether. Chop manageable plant stems and distribute them among other inputs. The goal is a workable open texture, not the complete removal of every coarse piece or the creation of a compact uniform mass.
Make the first checks
Start with the practical action: open the heap with a fork and mix in coarse dry plant material. Gather the tools and containers you need before beginning so the material can be handled without repeated trips across the bed. Work at a comfortable pace and stop if conditions are too wet dusty or physically awkward. A small carefully managed area gives a clearer result than a large hurried intervention. Keep children and pets away from open holes heavy tools and stored garden materials while the task is underway.
During the inspection, check for matted clippings and pockets with little visible texture. Compare observations from more than one position if the area is uneven. Bed edges sheltered corners and spots beside downpipes can behave differently. Record what you actually see or feel instead of declaring a cause immediately. A note such as water remains below the surface after rain is more useful than a general label such as bad soil, because the first description suggests something you can check again.
Interpret what you find
One important sign is that a sharp unpleasant odor often points toward poor aeration or unsuitable inputs. Treat this as evidence within the whole situation rather than a complete diagnosis. Consider recent rainfall the previous crop and any additions already made. A reliable comparison uses similar conditions, so avoid comparing a shaded wet corner with an exposed dry bed and assuming the difference comes from only one amendment. If the question involves nutrients or pH, a suitable laboratory test is more informative than guessing from leaf color alone.
The main limitation is that turning cannot correct hazardous or unsuitable materials already added. This matters because an attractive simple remedy can create a second problem if it ignores the original cause. Read labels on purchased materials and keep the original packaging where the contents can be identified. Do not combine products merely because each has a different claim on the front of the bag. When a recommendation specifies a quantity or an area, measure the actual bed before making an application.
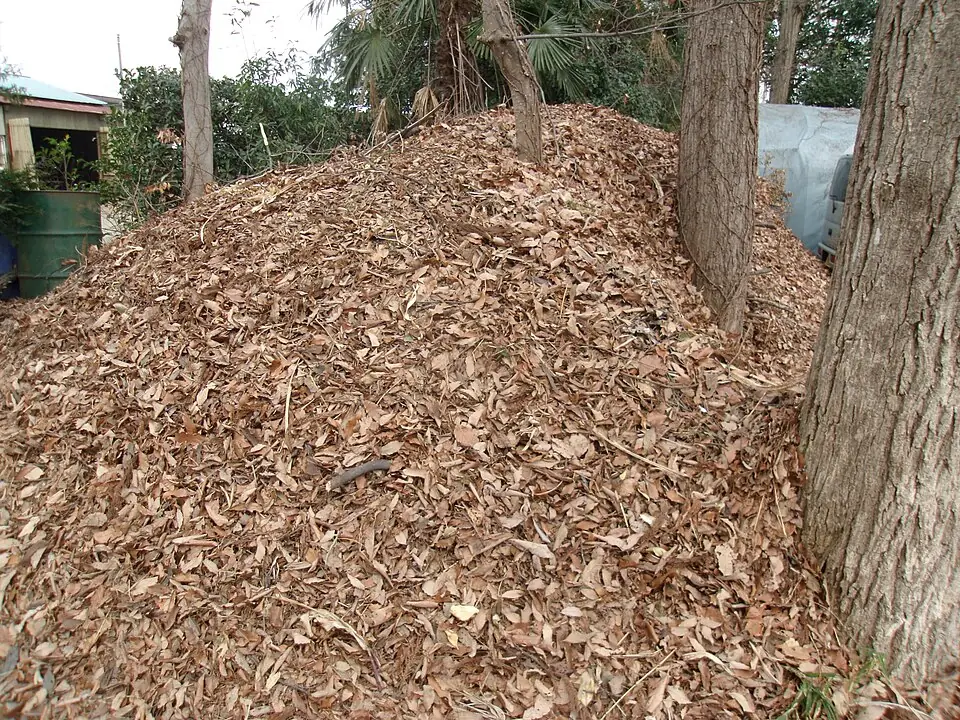
For the next stage, rebuild the heap with a looser mix and a cover that sheds excessive rain. Make this change in a clearly identified area and keep a short record of what was done. If living plants are present, check their growing points and the soil around their roots rather than disturbing the whole bed to inspect it repeatedly. Allow an appropriate interval for the process involved. A soil amendment needs time to affect structure, while correcting a blocked drainage exit may change water movement much sooner.
Choose the next step
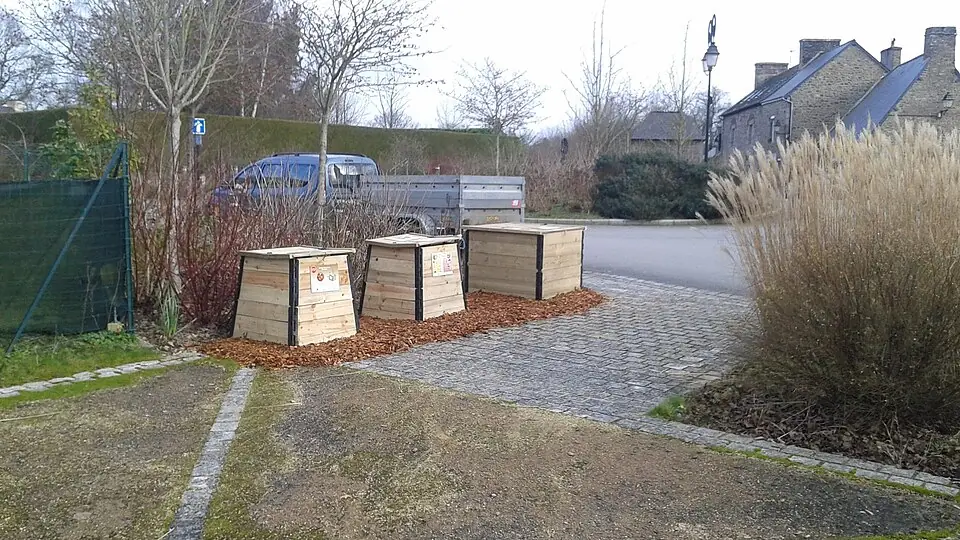
Then use smaller batches if the available bin cannot be managed safely. The aim is an arrangement you can maintain through ordinary weather and routine use. Check whether your new method creates extra handling or blocks access to another part of the garden. An amendment stored beside the bed is only helpful if it remains suitable and identifiable. Likewise, a cover or surface layer should still allow the gardener to inspect moisture and recognize emerging weeds before they become difficult to remove.
This approach to adding Air to a Dense Compost Heap works best as part of a restrained routine. Keep the planted area accessible, avoid working soil when its moisture makes damage likely, and obtain local horticultural advice for persistent problems or uncertain materials. The most useful result is not the largest amount of activity. It is a clearer understanding of the bed and a practical choice that supports healthy plants without unnecessary disturbance or waste.